728x90
우분투 22.04에 MySQL 8.0을 바이너리(Generic Binaries)로 설치하는 방법
우분투 서버 22.04 LTS(Jammy Jellyfish) 환경에서 MySQL 8.0.30 Generic Binary를 설치하고 초기화하는 방법입니다.
테스트 환경
운영체제 정보
$ cat /etc/os-release
PRETTY_NAME="Ubuntu 22.04 LTS"
NAME="Ubuntu"
VERSION_ID="22.04"
VERSION="22.04 (Jammy Jellyfish)"
VERSION_CODENAME=jammy
ID=ubuntu
ID_LIKE=debian
HOME_URL="https://www.ubuntu.com/"
SUPPORT_URL="https://help.ubuntu.com/"
BUG_REPORT_URL="https://bugs.launchpad.net/ubuntu/"
PRIVACY_POLICY_URL="https://www.ubuntu.com/legal/terms-and-policies/privacy-policy"
UBUNTU_CODENAME=jammy- MySQL : 8.0.30 (Generic Binary)
- 설치 경로 : /usr/local/mysql
1. 필수 패키지(libaio) 확인 및 설치
MySQL Generic Binary는 libaio 라이브러리에 의존합니다.
설치 여부 확인
dpkg -l | grep libaioii libaio1:amd64 0.3.112-13build1 amd64 Linux kernel AIO access library - shared library미설치 시 패키지 설치
apt-cache search libaiolibaio-dev - Linux kernel AIO access library - development files
libaio1 - Linux kernel AIO access library - shared libraryapt install -y libaio12. MySQL 전용 사용자 및 그룹 생성
보안 강화를 위해 MySQL 전용 계정을 생성합니다.
groupadd -g 999 mysqluseradd -r -g mysql -u 999 -s /bin/false -c "MySQL Server" mysql3. MySQL Generic Binary 다운로드
설치 경로 이동
cd /usr/localMySQL 바이너리 다운로드
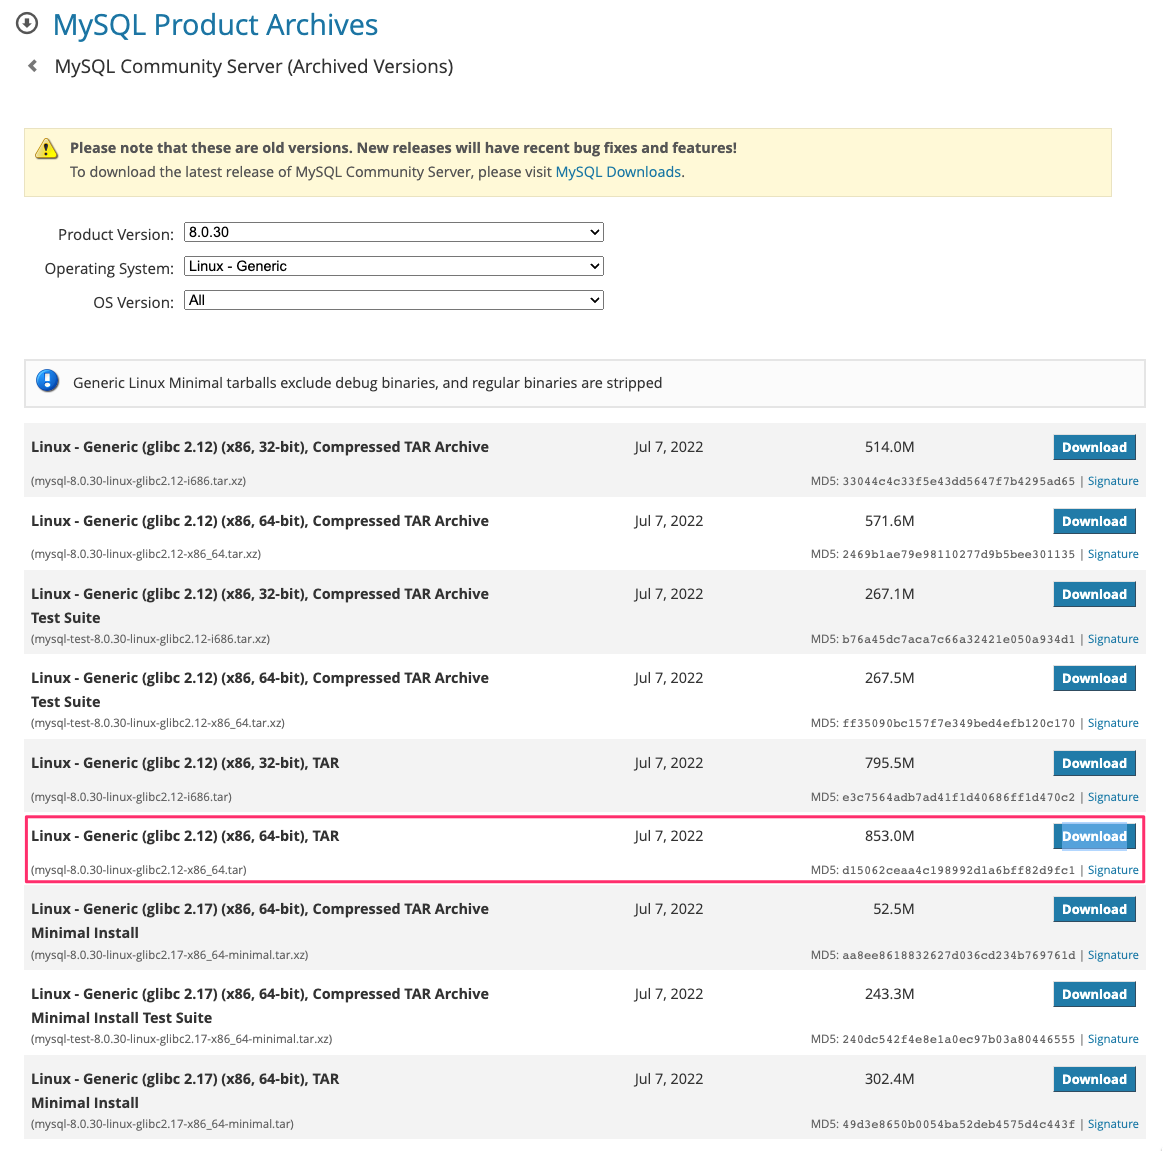
wget https://downloads.mysql.com/archives/get/p/23/file/mysql-8.0.30-linux-glibc2.12-x86_64.tar.xz압축 해제
tar xvf mysql-8.0.30-linux-glibc2.12-x86_64.tar.xz심볼릭 링크 생성
ln -s mysql-8.0.30-linux-glibc2.12-x86_64 mysqlMySQL 디렉토리 권한 설정
cd mysql
mkdir mysql-files
chown mysql:mysql mysql-files
chmod 750 mysql-files
mysql-files 디렉토리는 secure_file_priv 설정 시 파일 입출력에 사용됩니다.
6. MySQL 데이터 디렉토리 초기화
MySQL 서버를 최초 실행하기 전 데이터 디렉토리를 초기화합니다.
bin/mysqld --initialize --user=mysql2022-10-20T10:36:50.759143Z 0 [System] [MY-013169] [Server] /usr/local/mysql-8.0.30-linux-glibc2.12-x86_64/bin/mysqld (mysqld 8.0.30) initializing of server in progress as process 62230
2022-10-20T10:36:50.768094Z 1 [System] [MY-013576] [InnoDB] InnoDB initialization has started.
2022-10-20T10:36:51.797459Z 1 [System] [MY-013577] [InnoDB] InnoDB initialization has ended.
2022-10-20T10:36:53.213663Z 6 [Note] [MY-010454] [Server] A temporary password is generated for root@localhost: y&j1di7st<Xaroot 임시 비밀번호를 반드시 기록해 두세요.
7. SSL/RSA 인증서 생성
bin/mysql_ssl_rsa_setup8. 설정 파일 기반 MySQL 서버 시작
cp support-files/mysql.server /etc/init.d/mysql.server9. MySQL 서버 시작
bin/mysqld_safe --user=mysql &[1] 62282MySQL 데몬 확인
ps -ef | grep -v grep | grep mysqlroot 62282 61830 0 19:38 pts/5 00:00:00 /bin/sh bin/mysqld_safe --user=mysql
mysql 62351 62282 0 19:38 pts/5 00:00:07 /usr/local/mysql/bin/mysqld --basedir=/usr/local/mysql --datadir=/usr/local/mysql/data --plugin-dir=/usr/local/mysql/lib/plugin --user=mysql --log-error=testdb.err --pid-file=testdb.pid10. PATH 환경 변수 설정
MySQL 명령어를 편리하게 사용하기 위해 PATH를 추가합니다.
export PATH=$PATH:/usr/local/mysql/bin영구 적용을 원할 경우
echo 'export PATH=$PATH:/usr/local/mysql/bin' >> ~/.bashrc
source ~/.bashrc
11. MySQL 기본 설정(my.cnf) 작성
설정 파일 생성
vim /usr/local/mysql/my.cnf[mysqld]
disable-log-bin = 1
skip-name-resolve = 1
performance-schema = 0
local-infile = 0
mysqlx = 0
bind-address = 0.0.0.0
default-storage-engine = InnoDB
open_files_limit = 200000
max_allowed_packet = 256M
sql_mode = "STRICT_TRANS_TABLES,ONLY_FULL_GROUP_BY,ERROR_FOR_DIVISION_BY_ZERO,NO_ENGINE_SUBSTITUTION"
innodb_dedicated_server = 1
innodb_buffer_pool_instances = 48
innodb_log_buffer_size = 64M
innodb_read_io_threads = 12
innodb_write_io_threads = 12
innodb_file_per_table = 1
max_connections = 500
thread_cache_size = 128
table_definition_cache = 65536
table_open_cache = 65536
wait_timeout = 10
connect_timeout = 5
interactive_timeout = 30
tmp_table_size = 128M
max_heap_table_size = 128M
slow-query-log = 1
long_query_time = 2
slow_query_log_file = /usr/local/mysql/data/mysql_slow_query.log
log-error = /usr/local/mysql/data/mysql.err12. 설정 파일 기반 재초기화
my.cnf 적용 후 다시 초기화하려면 아래 명령을 사용합니다.
bin/mysqld --defaults-file=/usr/local/mysql/my.cnf --initialize --user=mysql
bin/mysql_ssl_rsa_setup --defaults-file=/usr/local/mysql/my.cnf
13. 설정 파일 기반 MySQL 서버 시작
bin/mysqld_safe --defaults-file=/usr/local/mysql/my.cnf --user=mysql &데몬 확인
ps -ef | grep -v grep | grep mysqld
728x90
'리눅스' 카테고리의 다른 글
| [WIP] 우분투에서 MOTD를 설정하고 동적 MOTD를 비활성화하는 방법 (0) | 2026.01.18 |
|---|---|
| [draft] ss 명령어 (0) | 2026.01.17 |
| [draft] CentOS 7에서 MySQL 5.7을 소스 기반으로 설치하고 초기화하는 방법 (0) | 2026.01.17 |
| [draft] hplog 명령어 (0) | 2026.01.17 |
| [WIP] 록키 리눅스 다운로드(Rocky Linux Download) (0) | 2026.01.17 |


